We hope you love the products we recommend! Just so you know, Trendy Mami may collect a share of sales or other compensations from the links on this page.
–
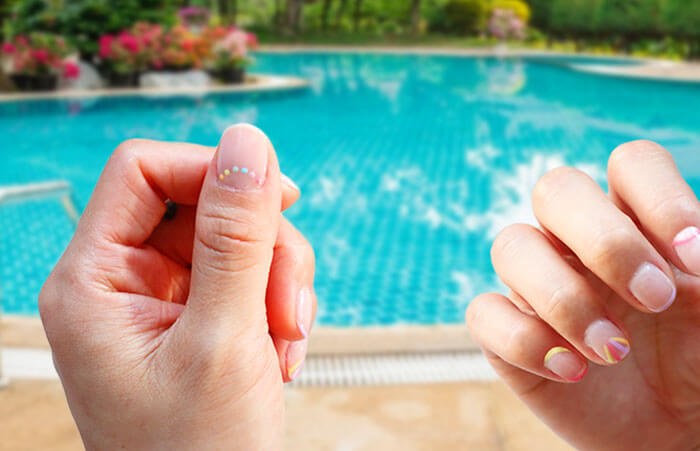
If you’re looking for a cute manicure to rock this season, then try this fun summer nails tutorial that incorporates five different playful designs all in one!
We’re hopping aboard the summer nails trend by combining a few of our favorite designs for one fun and playful look. Why choose between different styles of summer nail ideas when you can have a different pattern on each finger? In this tutorial, we’ll show you how to decorate each of your nails with a different trend for a unique look this summer season.
Summer Nails Tutorial
We suggest using water-resistant nail polish for a durable manicure and decor. Our personal favorite is from Olive and June, they have plenty of colors to pick from, and they last much longer compared to the average polish.
For a chic summer look, complement your nails with Glamentic’s vibrant shades that perfectly match seasonal trends. Their easy application and long-lasting finish make them ideal for anyone looking to elevate their style with minimal effort.
1. Rainbow Dots – Thumb
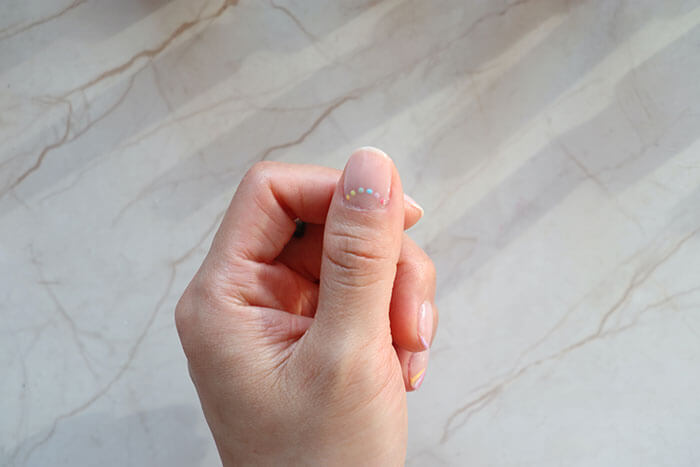
If you can’t decide which colors to add to your summer nails, then why not choose the whole rainbow? This fun and festive manicure is guaranteed to turn heads. And despite it consisting of several different nail polish colors, it’s actually one of the easiest summer nail ideas you can do!
Instructions:
- Start by painting your thumbnail with a clear base coat.
- Add a layer of nude nail polish once the base coat has dried.
- Now pick six colors you want for the dots. We decided on pink, orange, yellow, green, baby blue, and lilac – all the beautiful colors of the rainbow!
- Using a nail dotting tool, or if you don’t have one, a toothpick should work fine. Dip the tip into the first color. It’s easier to unscrew the nail polish lid and dip the tip directly onto the brush.
- Then make a small mark with the color on your nail.
- Wipe the dotting tool clean, and continue with the remaining colors until you have a dotted rainbow pattern on your thumb.
- Brush over with a top coat and let dry.
2. Sunset – Index Finger
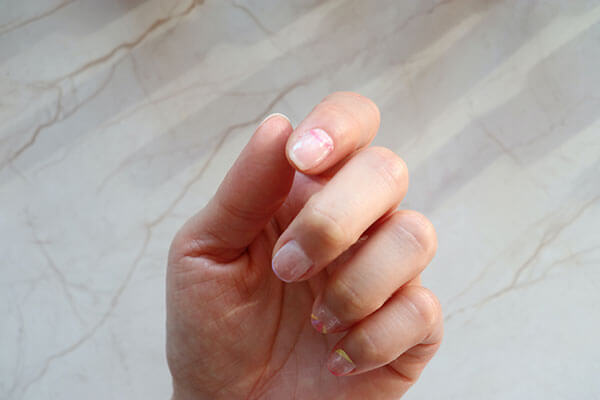
Perfect for those long summer days spent outdoors, this tutorial like a mini-sunset just for your finger. We used light and hot pink, although feel free to experiment with other sunset colors like oranges and reds.
Instructions:
- Start by painting your index nail with a clear base coat.
- Once the base coat has dried, brush a coat of nude nail polish over your nail.
- Now, color the tip of your nail brush with hot pink (or the darker of the two colors).
- Make an arched “U-shape” over the bottom of your nail near the cuticle.
- Let the arch dry a little, then add a layer of topcoat.
- Dip your brush in the light pink, and then fill in the middle part underneath your hot pink arch.
- Brush over your summer nails with a top coat and let dry.

3. Colored French Manicure – Middle Finger
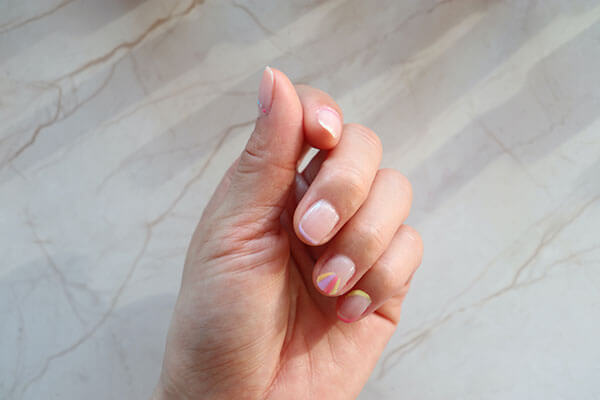
We love this fun spin on the classic French manicure style. Instead of using an opaque white, we’re jazzing up our nail tips with a pastel purple instead!
Instructions:
- Start by painting your middle fingernail with a clear base coat.
- Add a layer of nude nail polish once the base coat has dried.
- Using a dotting tool or fine nail brush, dip the tip into the pastel purple nail polish.
- Carefully outline the white part of your nail tip with the brush. If your nails are too short to show the tip, you can simply draw a line along the edge of your nail.
- Brush with a top coat and let it dry.
4. Rays of Color – Ring Finger
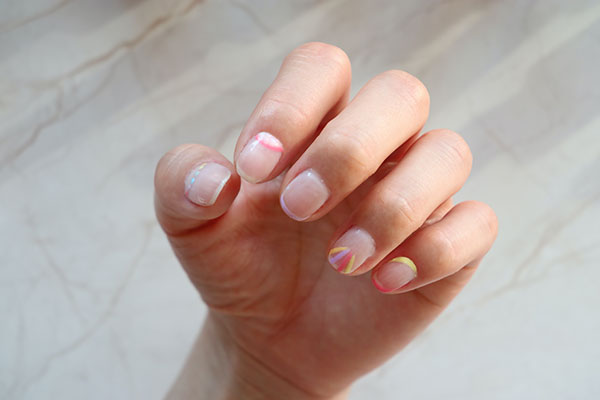
Your index finger may have the sunset, but your ringer finger will be as colorful as the sunrise! This summer nails tutorial uses four different pastel colors to make beautiful rays of sunshine on your finger.
Instructions:
- Start by painting your ring fingernail with a clear base coat.
- Add a layer of nude nail polish once the base coat has dried.
- Using a dotting tool or fine nail brush, dip the tip into the first color for your sunray (we started with yellow).
- Mark the center of your nail and draw upwards towards the tip.
- Continue with the three other colors (pink, lilac, and orange) until you have four lines on your ring finger.
- Brush with a top coat and let it dry.

5. Mirrored French Manicure – Pinky

For your pinky nail, we’ve saved the best for last! It’s called a mirrored French manicure, and it incorporates yellow and hot pink to add a stylish twist to this traditional classic design.
Instructions:
- Start by painting your ring fingernail with a clear base coat.
- Add a layer of nude nail polish once the base coat has dried.
- Dip your dotting tool into the yellow nail polish. Draw a diagonal curve along the bottom of your nail towards the right side of your pinky.
- Dip your dotting tool into the yellow nail polish. Now draw a diagonal curve along the top edge of your nail towards the left side of your pinky.
- Brush with a top coat and let it dry.
More Summer Ideas
Your summer nails are just one accessory you won’t want to overlook this season! They’ll look great with these fun beach outfits that you can wear on vacation. And don’t forget to pick out a few closet staples from Nordstrom that you can wear this summer or any other season of the year!

