We hope you love the products we recommend! Just so you know, Trendy Mami may collect a share of sales or other compensations from the links on this page.
–
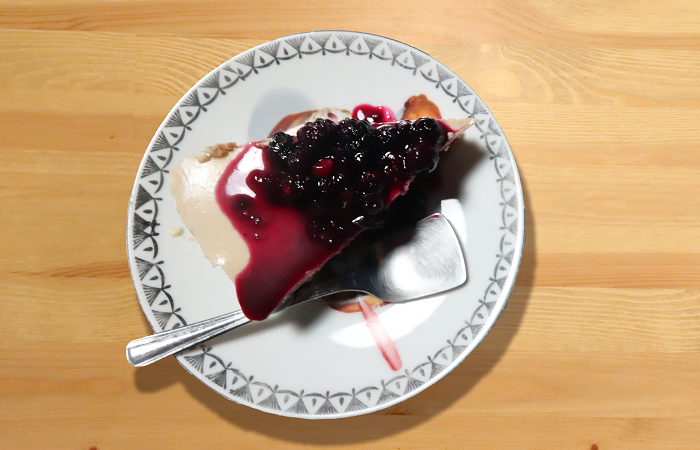
Are You Craving a Piece of Homemade Cheesecake? Try this Light No-Bake Ricotta Cheesecake Recipe.
Listen, I will be the last person on the planet to knock homemade baked cheesecake. Out of all the desserts I can think of, it’s in my top five (on some days, my top three). Of those top five, one of them is also our Gingerbread Cake recipe which I crave all year round.
If you’re someone who is trying to consume less dairy (because baked cheesecake typically contains cream cheese, condensed milk and sour cream), you simply want a healthier alternative and/or you admittedly like to use your oven (to bake desserts) as little as possible, I think you’ll enjoy making this particular light-no-bake cheesecake recipe.
It’s easy. It’s got ricotta cheese in it. Ricotta cheese contains half the amount of fat and calories all other cheeses have. Best of all, you can use your refrigerator so you run no risk of burning your delicious cheesecake!
Are you ready to give this recipe a try? (Make sure to check the video instructions at the end!)
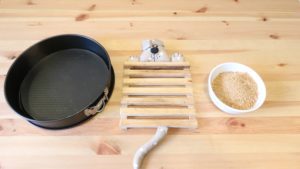
CRUST:
300 gr (10.5 oz) of biscuits
100 gr (3.5 oz) of butter
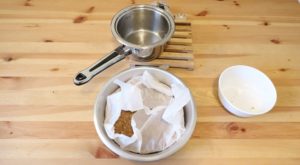
Step 1: First things first. I pull out an oversized Ziploc bag from my pantry and put my biscuits inside of it. Then I use a rolling pin to roll over the biscuits so that I can crush them into small pieces (basically like how graham crackers look when they’re crushed). Once the biscuits are crushed into little bits, I put them into a large bowl.
Step 2: Then I get out a medium-sized saucepan and set one of my front burners to medium-low heat. I put my pieces of butter into the pan until they melt. As soon as the butter turns to liquid, take the pan off of the stove.
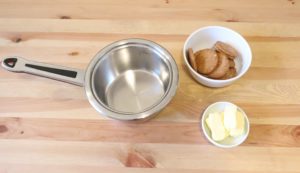
Step 3: Next, I pour the butter into the bowl of crushed biscuits and mix the butter and crumbs together.
Step 4: Once the butter and crumbs are well-blended together, I get a 9” round baking pan and put some parchment paper in it (large enough to cover up the crust that I’m about to create). Then I pour the crumbs into the pan and press them firmly into the pan/onto the paper.
Step 5: After that, I cover up the crust and put it into the fridge (you don’t have to do this step, but it will help the crust to “set” a lot quicker).
Now I’m ready to make the filling (don’t worry; this part flies by).
FILLING:
350 gr (12.3 oz) of Greek yogurt/low-fat yogurt
350 gr (12.3 oz) of ricotta cheese
90 gr (3.2 oz) of brown sugar/cane sugar or white sugar
8-10 gr (2 teaspoons) of fish gelatine
2 tablespoons of milk
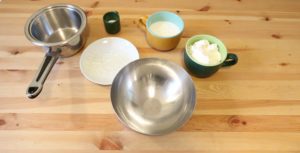
Step 6: I take my milk, ricotta cheese and sugar and mix them all together in a medium-sized bowl. Then I take a few minutes to stir everything up so that I don’t end up with a lumpy cheesecake (eww!).
Step 7: With the same medium-sized pan that I used to melt the butter for the crust (after I wash it, of course), I warm up some milk and put the fish gelatine in it. I allow this to melt over medium-low heat while stirring it so that the milk and gelatin fish blend smoothly.
Step 8: I give the milk and gelatin fish about a minute to cool. Then I pour it into the other ingredients (milk, ricotta cheese and sugar). I stir this for a while too (feel free to use a whisk if you want to be absolutely sure that all of the lumps are out).
Step 9: Now it’s time to take the crust out of the fridge and pour all of the filling into it. I make sure that the filling is evenly spread throughout the crust. Then I put the cheesecake into the fridge for about 2 ½ hours.
TOPPING:
200 gr (7 oz) of berries
90 gr of sugar (2 teaspoons) (depending how sweet you want the sauce
3 tablespoons of fresh lemon juice or two teaspoons of freshly-ground cinnamon (optional)
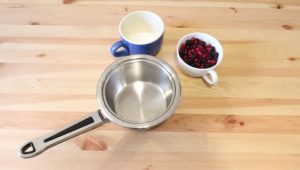
Once it’s been about two hours since the cake has been put into the fridge, I wash out that same medium-sized saucepan (if you clean as you go, there will be less to do at the end) and put my berries and remaining sugar into the pot so that I can make my topping. Personally, I prefer to allow this to simmer over low heat, just so nothing sticks to the pan or burns.
I stir the filling as gently as possible so that I don’t break up all of the berries. (If you want to add some fresh lemon juice or even a little freshly-grown cinnamon to your topping, now would be the time.)
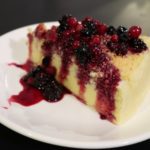
I take the berries and sugar off of the stove and let them cool for 3-5 minutes. Then I take the cheesecake out of the fridge, put the filling on top, put the cake back into the fridge for about 30 minutes and—voila! I just make one of the best-tasting and healthiest cheesecakes around!
Give this recipe a test run and tweak it to what you like in a cheesecake as we all have different tastes. Feel free to also check out some of our other recipes!
As we all know Thanksgiving is just around the corner. Impress your friends with not only a cheese cake but also one of our favorite holiday desserts, pumpkin pie! And if you have yet to learn how to cook a turkey and need an easy recipe, well here it is!
ENJOY!

