We hope you love the products we recommend! Just so you know, Trendy Mami may collect a share of sales or other compensations from the links on this page.
–
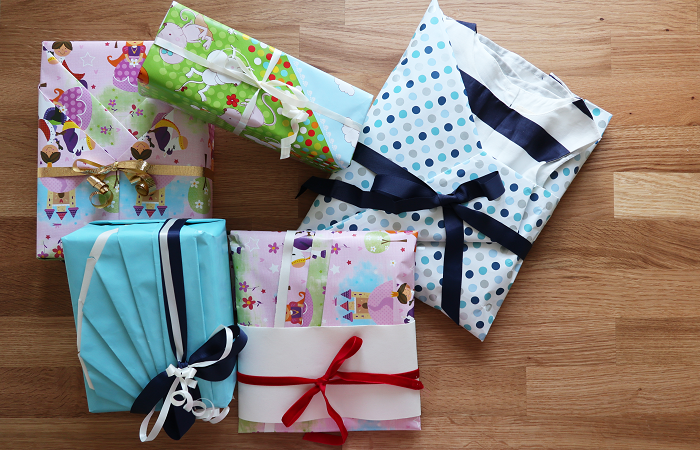
If you’re anything like me, when it comes to gift-giving, you’re just as much into the presentation of the gift as you are the present itself. Sure, you could use a gift bag or go with the same old wrapping style that everyone else does. Or, you could step out of the box, get creative, and try some of these super-cool gift-wrapping styles.
The Best (Japanese-Themed) Gift-Wrapping Tutorials
I won’t lie. It’ll take a couple of times before you’re able to move through your own gift wrapping as fast as these videos do. But with a few tries, I promise you’ll be just as good, plus the envy of all of your friends because the presentation of your present will be just as wonderful as the gift itself! Don’t forget to scroll down and check out all 5 styles of wrapping!
If you’re wrapping books, follow this tutorial!
Basic Japanese Wrapping Gift Tutorial
What You’ll Need:
- A roll of wrapping paper
- Some transparent tape
- Some double-sided transparent tape
- A pair of scissors
- Your present
Looking for a one-stop shop for all your materials? Joann’s is the answer for you! They have it all!
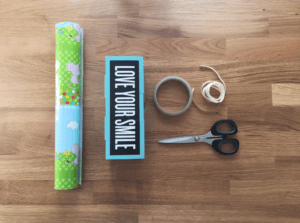
Step One
First, I make sure that the amount of wrapping paper that I use will cover up the entire present.
Step Two
I position the present in such a way that the wrapping paper becomes an “envelope” around it by using the lines that were created by the corners as my guidelines (I do this all the way around the present, by the way).
Step Three
I secure each flap of the wrapping paper with transparent tape.
Step Four
With the final flap, I pull it over the present and then secure it with transparent tape.
Step Five
Once I’m done, I choose either a bow or curling ribbon to give it some extra flair. If you’re going to go with curling ribbon, don’t forget to use a blade of your scissors in order the curl up the ends of it.
Voila—I’m done!
Japanese Fan Wrapping Gift Tutorial
What You’ll Need:
- Two different kinds of wrapping paper (you can find a lot of unique wrapping paper on Etsy!)
- Tissue Paper
- Some transparent tape
- Some double-sided transparent tape
- A pair of scissors
- Ribbon
- Your present
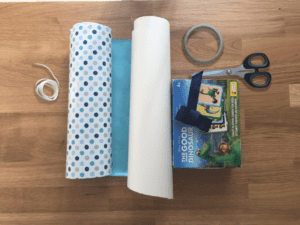
Step One
I put the two different kinds of wrapping paper on top of one another.
Step Two
Then I take one end of both papers and fold them in order to create a clean line/edge.
Step Three
I make sure to continue folding the papers six times until I create about six even-looking columns.
Step Four
I open up the now-folded papers and flip them over onto their other side.
Step Five
With my scissors, from the middle of the papers, I cut diagonally towards the left side of the papers until I reach the fifth column. Yes, I’m literally cutting a chunk of the paper completely off. You’ll see why in just a sec.
Step Six
In order to show off both wrapping papers, I slide the top one so that it’s about ½ inch lower than the one underneath it.
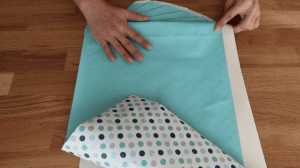
Step Seven
With the right side of the wrapping paper, I start to fold them until they look just like a fan (I do this with five of the six columns that I created).
Step Eight
When I finally reach the sixth column, I fold it until it’s parallel with the edge line.
Step Nine
Then I flip both papers over and secure the “fan” with transparent tape.
Step Ten
I’m now ready to wrap the present like I would with any other kind of wrapping paper. The only difference is I make sure that the fan is on top. In order for no tape to show, try and use double-sided transparent tape.
Step Eleven
Now it’s time for the finishing touch. I take two different pieces of ribbon (I prefer one made out of satin and one that’s curling ribbon), and I tie them together along the side of the fan where the sixth column shows. Then I tie them both into a bow and use my scissors to curl the curling ribbon. How cute is this?
A Few Other Gift-Wrapping Styles to Try
There are a few other Japanese-themed gift-wrapping options that I want to share with you. But honestly, if I broke down all of the steps, you’d be reading F-O-R-E-V-E-R and I know you’ve got a lot to do. So, how about I just share what you’ll need for three others along with a few takeaways to remember while you’re watching each video?
Kimono-Style Wrapping Gift Tutorial
What You’ll Need:
- A roll of wrapping paper
- Tissue Paper
- Some transparent tape
- Some double-sided transparent tape
- A pair of scissors
- Ribbon
- Your Present
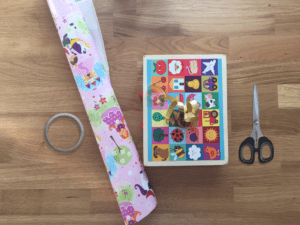
Takeaway Tip: The main thing to remember when wrapping a present “kimono-style” is that you make sure your creases in the wrapping paper are super sharp. That’s what’s going to give it the kimono effect that you’re looking for.
Kimono-Style #2 Wrapping Gift Tutorial
What You’ll Need:
- A roll of wrapping paper
- Tissue Paper
- Some transparent tape
- Some double-sided transparent tape
- A pair of scissors
- Ribbon
- Cardboard
- Your Present
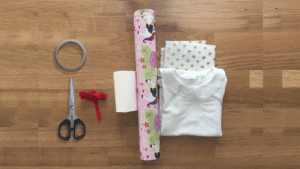
Takeaway Tip: This is probably the most complex of all the videos I’ve shared. Just make sure to take your time and do not forget the cardboard. You’ll need it to make this gift-wrapping style turn out perfectly.
Clothing Gift Wrapping Tutorial
What You’ll Need:
- A roll of wrapping paper
- Tissue Paper
- Some transparent tape
- Some double-sided transparent tape
- A pair of scissors
- Ribbon
- Paper or board (that’s about the size of your present)
- Folded Outfit (which is your present)

Takeaway tip: You’ll be doing quite a bit of diagonal folding here, so make sure to watch this video carefully when you’re doing this for the first time.
More Holiday Content
With the holidays just around the corner, we have just the presents you will want to try these gift-wrapping ideas with! So don’t worry you will have the best-looking presents in town! Happy gift-wrapping! Don’t forget to subscribe to Trendy Mami on YouTube for more videos like these!

