We hope you love the products we recommend! Just so you know, Trendy Mami may collect a share of sales or other compensations from the links on this page.
–
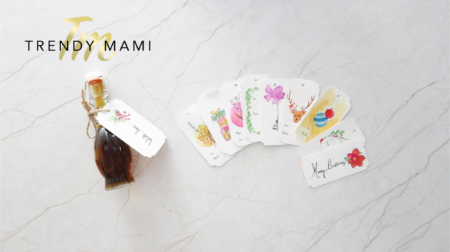
If you’re going to a lot of holidays season parties, then this tutorial is the perfect DIY for your Christmas presents. We have four tutorials to make adorable tags that you can add to your gifts. It’s a nice and personalized way to show your loved ones that you care!
Let’s Make Gift Tags for Holidays Season Parties
Materials for Gift Tags

- Watercolor paper
- Corner puncher
- Hole puncher
- Pencil
- Watercolor paint
- Paper towel
- Ink pens
- Eraser
Instructions to Make Gift Tags
- First, we will need to make the base for our gift tags. Take the watercolor paper from Etsy and cut it into small rectangles.
- Then, take the corner cutter to turn those angled corners into different edge shapes. This isn’t a must, but it’s a nice way to elevate the look of the gift tag.
- To make a hole for the string, make a one-hole punch at the top of the tag.
- Now, we can decorate the tags with one of the styles below!
Christmas
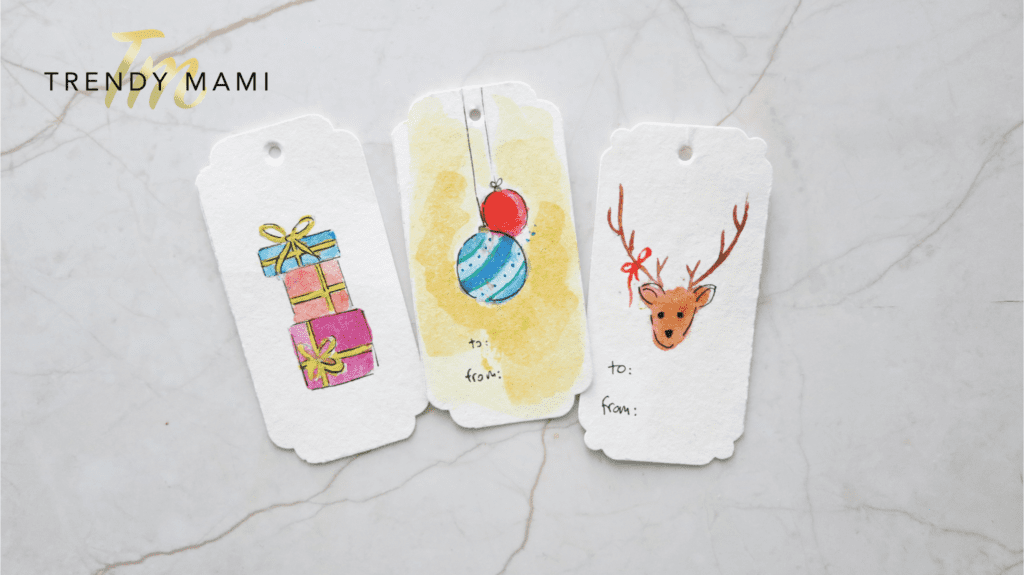
- With your pencil, sketch out the design you want on the tag. In the video, we are making Christmas ornaments, reindeer, and presents! Make sure you leave room on the tag for the “to” and “from” lines.
- Once you have the design you like, it’s time to go in with the watercolors from Target. If you want to add shading to the tag, dab the first layer of paint with a paper towel. Then, go over the first layer with more paint to create depth.
- Let the paint dry fully.
- Take your ink pen from Joann to outline the design and write “to” and “from” on the front. This will make the color and pattern pop out!
Gradient
- This style may look challenging, but it’s surprisingly really easy and looks extremely professional! Using your pencil, draw something of your choice. We chose flowers.
- Now, take one watercolor and paint a circle over the sketch. Dab with a towel and add a second layer to part of the circle. This creates a blended gradient that gradually goes from light to dark.
- You can also use different colors here. Start with the lightest color first and then go in with a dark color on top.
- Use the Indian ink pen to redraw the flower over the watercolor.
- Erase any pencil lines that can still be seen.
Wreath
- A wreath gift tag for your holiday seasons party is a cute way to bring the Christmas cheer. With your pencil, draw a circle in the center of the tag.
- Continue to decorate the wreath by drawing leaves, holly, or any other decoration you want to add.
- Using a small brush, paint the leaves and small details of your wreath with watercolors.
- In the center of the wreath, you can write the “to” and “from” lines for your gift tag!
- Instead of a round wreath, you can also make a rectangular one to fit the gift tag. Add individual leaves to give it a full and bushy look. Then, take the green watercolor and paint the leaves (feel free to use the dab technique to shade).
Text to Flower
- On your gift tag, draw a thin line from one end to the other in pencil.
- Now, write your text using the line as a guide. You can write a wish, greeting, or even the name of the recipient (we’ll show you how to do all of these greetings). Make sure to leave a little space at the end!
- In that extra space, draw a flower or bow of holly. We recommend connecting the last letter of the message to the image to make it flow together.
- Paint the flowers and leaves with watercolor paints of your choice.
- Outline the flower and your greeting with an Indian ink pen.

Get Ready to Party!
With this tutorial, you’ll be prepared for all of your holidays season parties! If you’re looking for more DIY Christmas tutorials, we have you covered. Here is another watercolor tutorial for making Christmas cards. You can also follow this video to make holiday table centerpieces!


