We hope you love the products we recommend! Just so you know, Trendy Mami may collect a share of sales or other compensations from the links on this page.
–
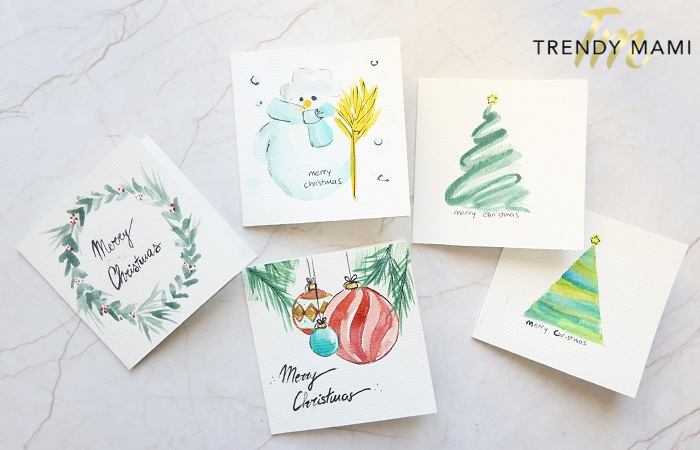
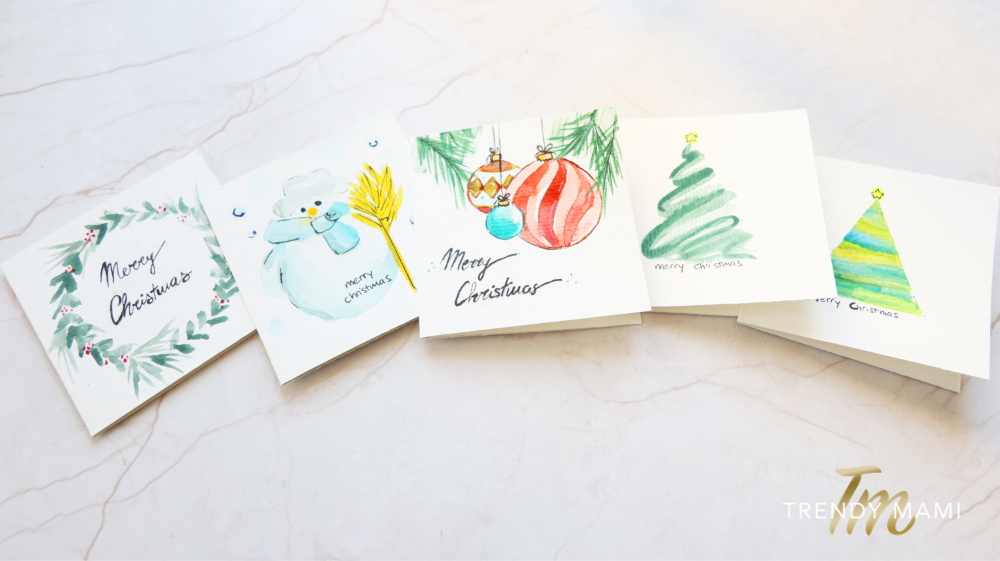
The pandemic has made a lot of families cancel their usual holiday gatherings this year. For those of you who are skipping your usual holiday festivities or doing a long-distance celebration via video chat may want to create handmade Christmas cards and them extra special this year. Sending a DIY Christmas card, like the one below, will add a personal touch that can help everyone feel a bit more connected to each other.
Below, we’ll include the necessary supplies to re-create each card. But before we jump in to it, we seriously recommend checking out Dollar Tree to grab all the supplies you need before. Not only do they have a huge selection of craft supplies for your holiday cards, but they have amazing deals when you buy in bulk. And if you’re someone who has a creative spark, now is a good time to stock up on all your craft supplies and needs at Dollar Tree.
Now let’s get into making these watercolor holiday greeting cards. ‘Tis the season to break out the watercolor paint and go nuts. You have our permission!
DIY Christmas Card Designs
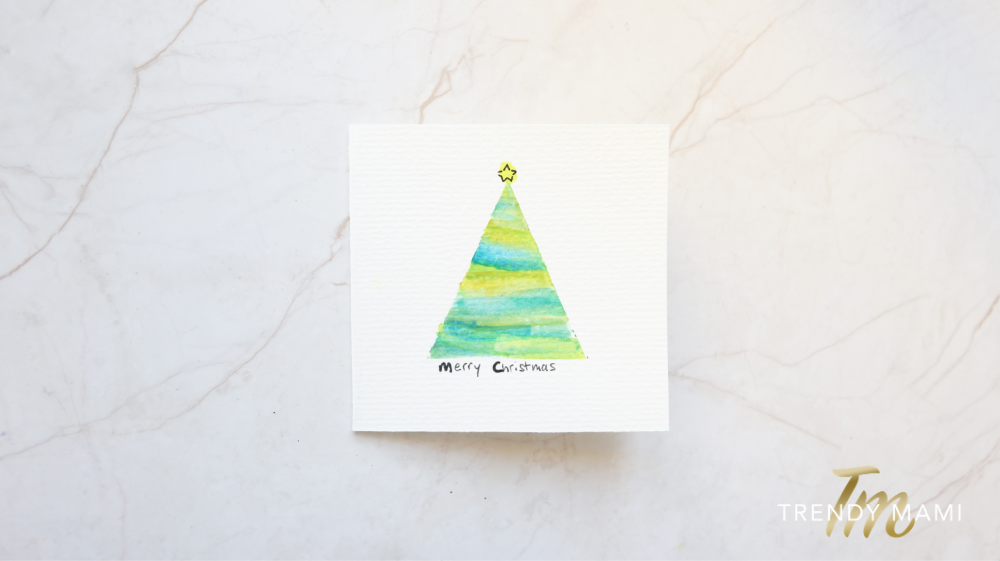
1. Geometric Tree
 Materials:
- Blank card
- Paper tape
- Squared brush
- Watercolor paints
- Black pen
- Pencil
Instructions:
- Take your blank card and proceed to stick paper tape on the front of your holiday card. Create a triangle shape with the paper tape.
- Take a damp squared brush and proceed to take your green watercolor paint and paint inside the paper tape. This will be your Christmas tree.
- Once done, take the paper tape off your card. Then, take your yellow watercolor paint and paint a star on the top of the Christmas tree.
- Taking your black pen, outline the star.
- In pencil, write your holiday message underneath the tree. We went with “Merry Christmas.” Once you’re happy with your message and handwriting, write over your pencil with black pen. Then enjoy sending out your beautiful DIY Christmas card!
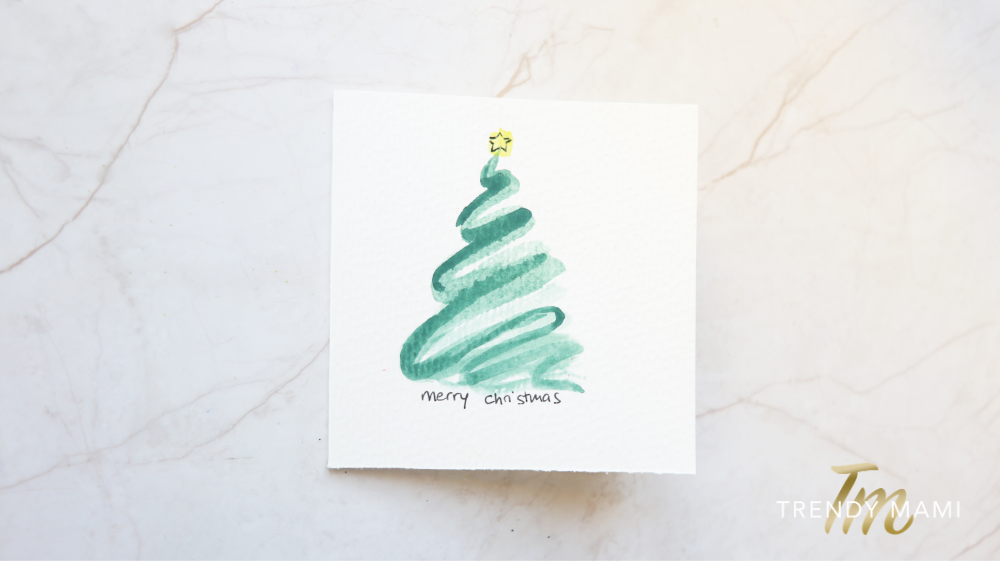
2. Abstract Tree
 Materials:
- Blank card
- Watercolor paints
- Black pen
- Pencil
- Round brush
- Squared brush
Instructions:
- Take your blank card and proceed to draw the three corner points of a triangle on the front of your holiday card.
- Take a damp round brush and proceed to take your green watercolor paint and paint a swirly, abstract Christmas tree as we did in the video. Be sure to use lighter and darker shades of your green for dimension.
- Then, take your damp squared brush with yellow watercolor paint and paint a star on the top of the Christmas tree.
- Taking your black pen, outline the star.
- Taking your black pen again, write your holiday message underneath the tree. We went with “Merry Christmas”.
3. Wreath
 Materials:
- Blank card
- Pencil
- Round object
- Watercolor paints
- Round brush
- Squared brush
- Black pen
Instructions:
- Take your blank card and a round object. Trace the round object on the front of your card with a pencil. Then, diffuse the line with the eraser end of your pencil.
- Take a damp round brush and proceed to take your green watercolor paint and paint your wreath using the press and drag method. Use a tissue to remove excess paint if need be.
- Clean off your brush with water. Take your damp round brush again, now free of green paint, and take some red watercolor paint. Proceed to paint red berries on your wreath.
- Take a damp squared brush with green watercolor paint and fill in the gaps in your wreath, using the press and drag method once again.
- Taking your black pen, write your holiday message in the middle of the wreath. We went with “Merry Christmas”, but you can put any holiday saying on your handmade Christmas cards.
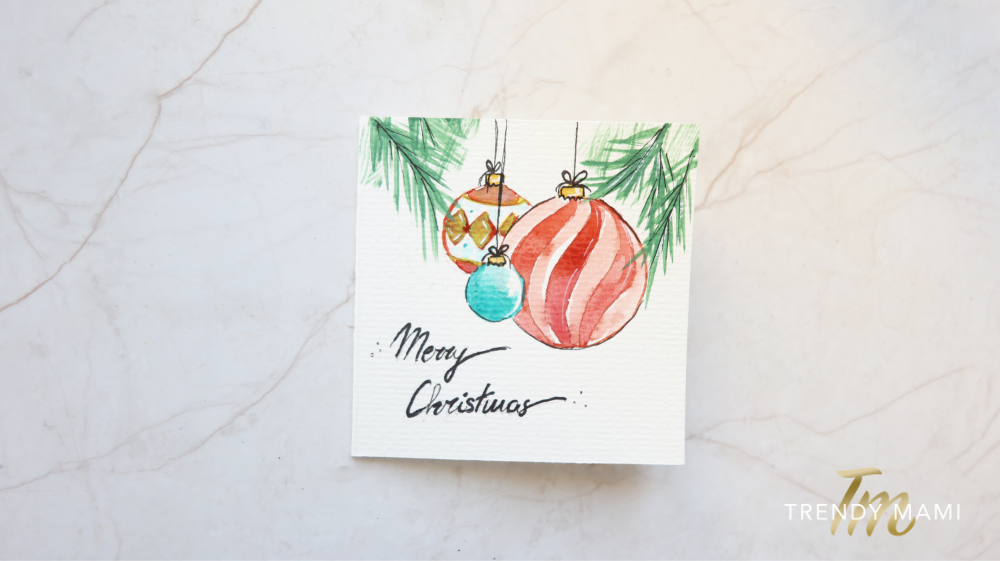
4. Ornaments
 Materials:
- Blank card
- Pencil
- Round object
- Watercolor paints
- Round brush
- Squared brush
- Black pen
Instructions:
- Take your blank card and pencil and draw 3 circles on the front of your card. You can use a round object again if need be or do it free hand. Next, draw the ornament strings and add some decorative details with your pencil.
- Take a damp round brush and proceed to take your preferred color of watercolor paints and paint your ornaments. Use a tissue to remove excess paint if need be.
- Take a damp squared brush with green watercolor paint and proceed to paint the leaves of the Christmas tree coming from the ornaments.
- Take your black pen and write your holiday message underneath the ornaments. We went with “Merry Christmas.” With your black pen, go over the strings of your ornaments also. Voila, your DIY Christmas card is done!
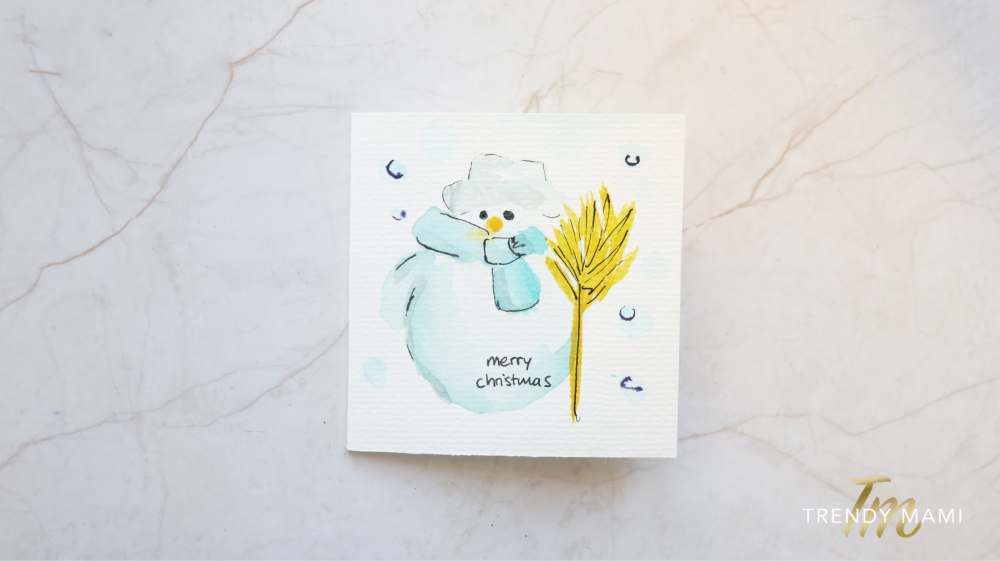
5. Snowman
 Materials:
- Blank card
- Watercolor paints
- Round brush
- Squared brush
- Black pen
Instructions:
- Take your blank card and a damp round brush and proceed to paint your snowman out of various shades of blue and black watercolor paint.
- Take a damp squared brush and a yellow watercolor paint and paint a plant beside your snowman. Use a tissue to remove any excess paint if need be.
- Take your black pen and outline the details of your snowman and the plant.
- Take your black pen and write your holiday message underneath the snowman. We went with “Merry Christmas”.
- To add finishing touches, take a damp round brush with light blue watercolor paint and proceed to paint snowballs around your snowman. Then, with a black pen, outline your snowballs.
Make More for Christmas!
We hope you enjoyed these DIY Christmas Cards tutorials. If you did enjoy them, you may also want to check out our Gift Wrapping 101: How To Wrap Books – Video Included. You can even stick your handmade Christmas cards in with these wrapping techniques! You may also enjoy Delicious Gluten-Free Zucchini Cake “Christmas Trees” – Video Included and DIY Giant Chunky Knit Blanket – Video Tutorial Included.

