We hope you love the products we recommend! Just so you know, Trendy Mami may collect a share of sales or other compensations from the links on this page.
–
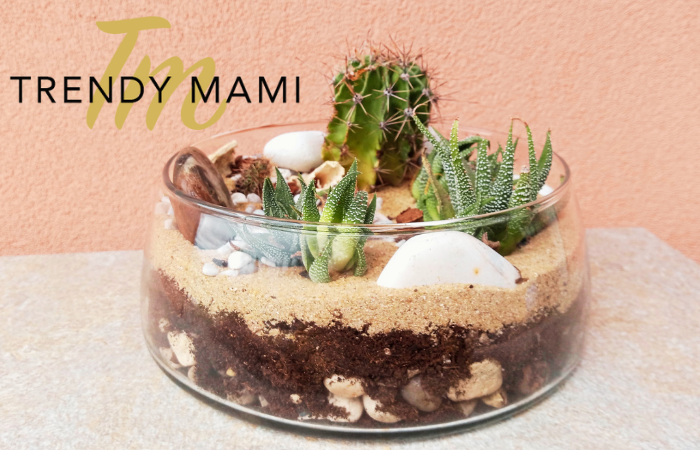
Do you love to be outdoors? Are you looking to bring some of the green life inside (if you like green, check out this couch)? Making a DIY terrarium can help you incorporate your favorite natural landscapes into your home décor.
Bring the Outside In with this DIY Terrarium
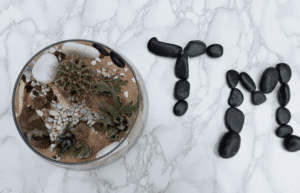
But before you get into building your terrarium, you need to know a few key details. We’ll walk you through making your own desert terrarium, including the materials you’ll need.
If you’re ready to start making your home a little more natural, you’ve come to the right place. With these tips, you’ll have the opportunity to make your home your own and bring in your favorite pieces of nature.
Materials You’ll Need for Your DIY Terrarium
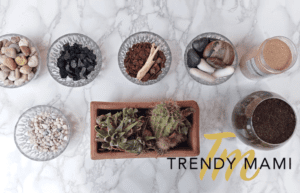
- Active charcoal
- Branches and stones for decoration
- Your favorite desert plants
- Pebbles (from Target)
- Sand
- Potting soil
Tools You’ll Use

- A glass container
- Lengthy spoons
- A funnel (from Sure la Table)
- Spray water bottle
- Tweezers
- Gardening gloves
Assembling Your Terrarium

- To create the best green life, you’ll want to focus on creating a base for your soil that directs moisture away from the roots. Desert plants are designed to live without a lot of water. So, if the roots get oversaturated, they may rot, or the plants may become damaged.
- To create some drainage layers, take your pebbles and spread them along the bottom of the glass container. Keep adding them until you have a 2-inch thick base. Then, spoon in either a quarter-inch or half-inch of activated charcoal.
The charcoal assists with the drainage. It also pulls toxins and bacteria from the soil and keeps them from developing into bacteria. If you don’t have activated charcoal in your terrarium, you run the risk of your terrarium growing odorous.
Adding in Your Plants
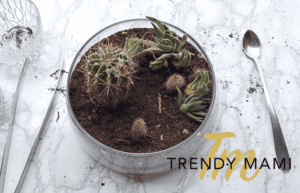
- Now, it’s time to start bringing the green life into your DIY terrarium (if you want to spend more time outside, too, look at these places to go day hiking)!
- On top of the charcoal, add your Potting soil. This soil shouldn’t have fertilizer because terrarium plants don’t need fertilizer. Otherwise, you can use any kind of potting soil you prefer. You should make the potting soil at least 1.5 inches deep.
- You can also look at the pots your plants came in to make sure your soil is deep enough.
- Next, you’ll want to finalize the design of your DIY terrarium. You’ll want to include plants that can handle similar soil conditions in the same terrarium. Otherwise, your plants may not thrive.
- Once you have your design figured out, make a hole in the soil large enough for each plant. Then, take the plant out and trim some of its roots. Root trimming stymies the growth of the plants so that they don’t overtake the terrarium.
- Ease the plants into the soil and shake off any excess. Pat the soil down so that there aren’t any air holes.
- Using the funnel, pour sand into the areas in which you want sand. You can spread it out over the whole terrarium, confine it to a certain area, or even layer it with stones.
- Place branches and stones throughout the terrarium, and then decorate it with as many pebbles as you’d like.
When you handle prickly plants, you should use gardening gloves. Otherwise, you might end up pulling needles from your hands! It’s a good idea to keep tweezers on hand in case you need to take any cactus spines out of your skin.
Ready to Create Your DIY Terrarium?
Your DIY terrarium will help you bring the green life into your home.
A great DIY terrarium can take multiple forms. If you don’t like desert terrariums, you can choose to create tropical or moss terrariums instead. Some people also create carnivorous terrariums.
If you choose to create a carnivorous terrarium, you need to make sure you don’t add non-carnivorous plants into the terrarium. Carnivorous plants eat insects and other small creatures, so they’re especially good for people who want to get rid of bugs!
Ready to learn more about decorating your home? Prepare your house for spring with this article!

